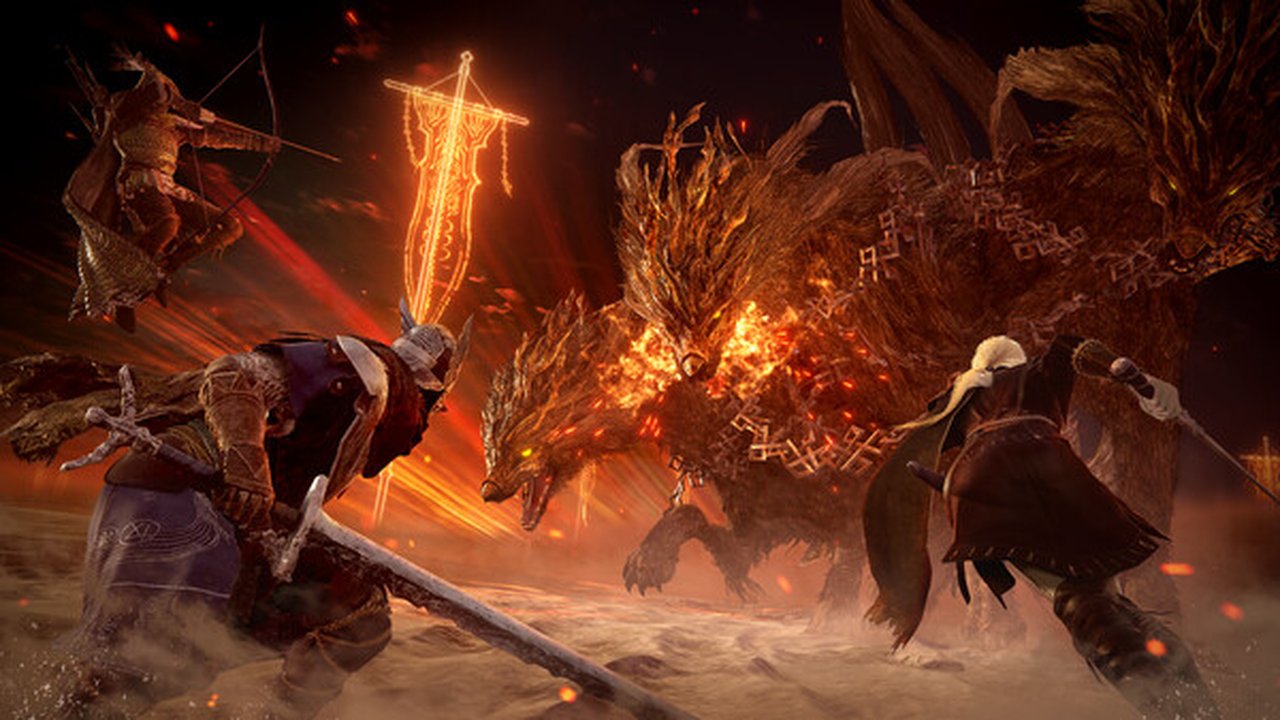
Boss Overview
This boss index lists every major encounter in Crimson Desert, from early-game field bosses to the late-game raid-style fights. Each entry covers the boss's attack patterns, phase transitions, recommended gear and the loot table, so you know exactly what to expect before you engage.
Defeating bosses unlocks new abilities, exclusive weapons and Abyss Artifacts. If a boss wall stops you, the intended answer is: explore, gear up, come back stronger — not grinding the same wall.
General Boss Strategy
- Learn the telegraphs — every boss has 2-3 readable attacks; perfect parries beat dodging.
- Bring counter gear — blunt vs armored, fire vs plant, etc.
- Pre-buff with camp food + alchemy potions.
- Control the arena — use grapple throws and environmental objects.
- Stuck? Leave. Explore, upgrade, and return — bosses are gates, not walls to brute-force.
The parry-stagger loop
Every major boss in Pywel is built around the same exchange: block chips stamina, but a well-timed parry opens a massive counter window. Chain light attacks into a heavy finisher for bonus stagger while the window is open, then disengage and recover stamina — never empty it, because the dodge that saves your life costs the same resource. Grapple throws into walls or other enemies extend punish windows further.
When a boss wall stops you
Bosses are ability gates: defeating them unlocks new abilities, exclusive weapons and Abyss Artifacts. If a fight stalls, the intended answer is not retries — it is explore, gear up, come back stronger. Check the entry below for the boss's phase transitions and recommended gear, spend an evening on side quests and smith upgrades, and the same attempt that took twenty runs becomes a clean two-phase kill.
Reading phase transitions
Most Pywel bosses telegraph their phase change with a staggered roar, a weapon toss, or a arena change — and each phase rewrites the safe window. The practical habit: spend the first attempt purely watching, call out the transition cues to yourself, and bank your healing items for the phase you have not seen yet. Entries below list each boss's recommended gear tier; arriving one tier under is fine, two tiers under turns a two-phase fight into a ten-phase war of attrition.
Gear checks before the fog gate
Before every major encounter, run the same thirty-second checklist: smith upgrades applied to your primary weapon, Abyss Gears socketed for the boss's damage type, a stock of attack-speed and spirit potions, and food buffs cooked rather than bought. Because bosses gate abilities and exclusive weapons, the payoff for preparation is permanent — every wall you clear makes every subsequent fight easier.
Adds, marks and lobby focus
Several major encounters summon reinforcements or mark targets mid-fight, and the fight's length is a function of focus: adds die first or not at all, marked targets before the boss's shield phase, and the boss only when the arena is clean. Solo, the same rule reads as one-at-a-time positioning — grapple resets keep the arena honest so the parry-stagger loop always has a single answer.