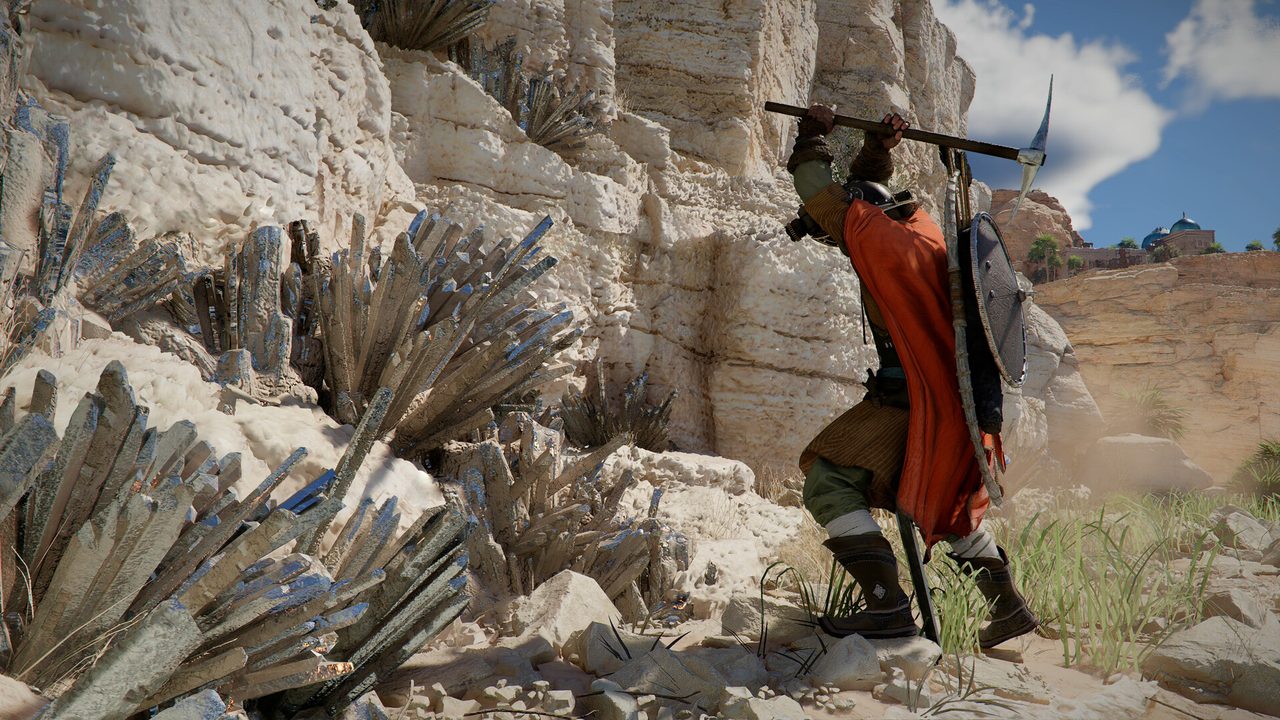
Core Mechanics
- Light / Heavy attacks: chain lights into a heavy finisher for bonus stagger.
- Block & Parry: block chips stamina; a well-timed parry opens a massive counter window.
- Dodge & Stamina: every action costs stamina — never empty it in a boss fight.
- Grapple: grab enemies, throw them into walls/other enemies, or use it as a movement tool.
Weapon Switching in Combos
You can switch weapons within a single combo string — e.g., sword-and-board → spear sweep → greatsword slam. Each swap keeps the combo counter alive, enabling brutal multi-weapon sequences. Practice the rhythm on training dummies in camp.
Element Reactions
- Water can freeze (with ice) or conduct electricity (with lightning).
- Fire spreads to wood and oil — burn crowds and terrain.
- Environment: grab pillars, barrels and debris to throw at enemies; use height for plunging attacks.
Combat Build Archetypes
| Archetype | Core idea | Best tree |
|---|---|---|
| Wrestler | Grapple + throws + unarmed finishers | Blue (stamina) |
| Elementalist | Staffs + water/fire reactions | Green (spirit) |
| Mounted Rider | Charge + combat mount damage | Red (life) |
| Parry Duelist | Rapier + perfect parries | Blue + Green |
Crowd Control & Boss Parrying
Against groups, use grapple throws to isolate targets and element AoE to thin crowds. Against bosses, learn the telegraphed attacks — a perfect parry on a boss's heavy hit is the highest-value skill in the game. Bosses become significantly easier once you parry instead of dodge-spam.
Stamina discipline
Every action costs stamina, and the bar is the real health resource in boss fights. The rule: never enter the last third of your bar unless the boss is staggered. Block chips stamina on every held guard, parries cost one well-timed press, and dodges are the most expensive — which is why the parry-stagger loop outperforms dodge-heavy play against anything with a readable tell.
Grapple as a movement tool
The grapple is half technique, half traversal: grab enemies and throw them into walls or into each other for stagger and area damage, but also use the grab to reposition during a combo — a throw can carry you out of a surround or over rough ground. Combined with mid-combo weapon switching, it turns Kliff's kit into a flow problem: light chains, a heavy finisher, a switch, a grapple, and the stamina bar never empties.
Weapon switching in combos
Switching weapons mid-combo is Crimson Desert's damage lubricant: a heavy two-handed opener staggers, a switch into a fast one-handed family punishes the window, and switching back before recovery frames keeps the loop unbreakable. Learn two families with opposite speed profiles and the switch-cancel becomes your stamina-cheapest damage; three families is a luxury, two is the working minimum.
Element reactions and build archetypes
Elemental effects layer onto the stagger loop: reactions turn arena hazards and enemy types into damage multipliers, and the build archetypes above (aggressive stagger, elemental abuse, evasion-crit) each prioritise different Abyss Gears and skill-tree branches. Pick the archetype your weapon family already supports — forcing an elemental build onto a pure-physical family costs more respec silver than it earns back.
Crowd control and the boss parry
Crowds and bosses want opposite disciplines. Crowds: grapple resets, wall throws and one-at-a-time positioning so the parry loop always has a single answer. Bosses: stamina discipline, parry timing and the punish window after a stagger — chaining light attacks into a heavy finisher. Practise the boss discipline on field elites; the arena they give you is the same one the chapter gates use.