Your First Ten Minutes
Water comes first. Unlike the original game, you do not start with a water machine. Water Slugs — small translucent creatures drifting below the lifepod and in nearby caves — are your only early hydration. Scoop several up and convert them into water bottles at the fabricator inside the pod.
There is plenty of fish around, but you cannot eat them yet. Snack on the Nutrient Blocks in the lifepod storage and grab the medkit in the same storage.
Listen to every NOA broadcast. The AI assistant on your pod is not flavor text — each message unlocks a new HUD location where upgrades and story beats are waiting. The whole progression unspools from following her signals.
Directly below the lifepod is a small cave containing a Portable Locker and a pile of Titanium. Grab the locker and load up — it is free extra storage from minute one.
Oxygen: The Real Clock
Oxygen is your true survival meter in the early game. Three things extend it:
- Air Plants — the glowing growths scattered through the shallows top up your O2 for free when you swim past. Use them instead of surface runs.
- Standard Air Tank — craft as soon as Silver is available (Angel Comb branch). It is the single highest-value upgrade for exploration length.
- Portable Oxygen Generator — a blueprint unlock that gives you a stationary refill point for long cave work.
Don't rush the Rebreather — it reduces oxygen drain at depth but changes surface recovery behavior. Read the tooltip before equipping; many players regret it early.
Tool Priority
Craft in this order to remove blockers fast:
- Flashlight — scan fragments at the Lifepod cave and northeast wreck; crafted with Coral Mash and Toxic Sponge materials.
- Repair Tool — scan all three fragments (Chap base, south wreck, northeast wreck) so you can fix the lifepod and later bases.
- Scanner + Survival Tool — keep both charged; the Survival Tool's mining mode handles everything from coral to ores.
- Beacon — unlocked at the Welcome Center; mark Silver caves, wreck routes and resource patches.
See the Vehicles & Tools page for every unlock route.
The 10-Step First-Hour Route
- Convert Water Slugs → water bottles (fabricator).
- Grab the medkit + Nutrient Blocks from storage.
- Dive below the pod: Portable Locker + Titanium.
- Swim past Air Plants to top up O2 (free).
- Follow the first NOA signal southwest toward the Welcome Center.
- At the Welcome Center: scan the Habitat Builder — your base-building unlock.
- In the Bio Lab, pick your first Biomods: Dash and Oxygen Control are the strongest early picks.
- Take the Dive Elevator / grab a Beacon.
- Scan Tadpole fragments (Old Habitat, northeast ravine, Tadpole Pens) as soon as you can reach them.
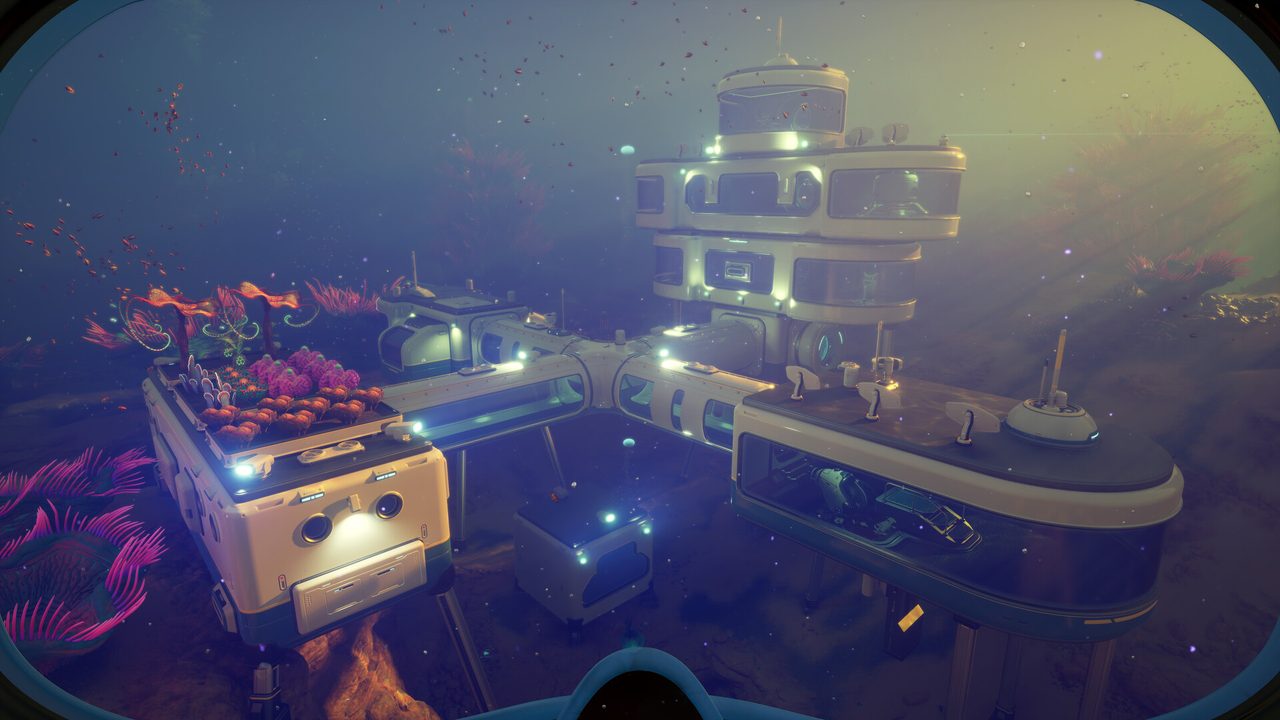
- Build your first base near a resource-rich shallow spot (see Systems for power basics).
Common First-Hour Mistakes
- Ignoring NOA signals — you will hit a hard progression wall with no marker to follow.
- Hoarding Water Slugs instead of converting — convert early; hydration drives everything.
- Skipping the portable locker — inventory is brutal at the start.
- Deep diving before the Air Tank — the graveyard and caves will kill you on O2 alone.
- Not placing beacons — the alien ocean looks the same in every direction; mark everything.
Next: Game Systems — O2, hunger, Biomods and crafting explained →